How to create a custom dashboard
Custom dashboards enable you to create a tailored view of your data, highlighting the metrics and KPIs that matter most to your organization. This guides shows you how to create a custom dashboard in Prisme Analytics.
Step 1: Create an empty dashboard
On the side bar, click on the dashboard entry, you should see the following
page:
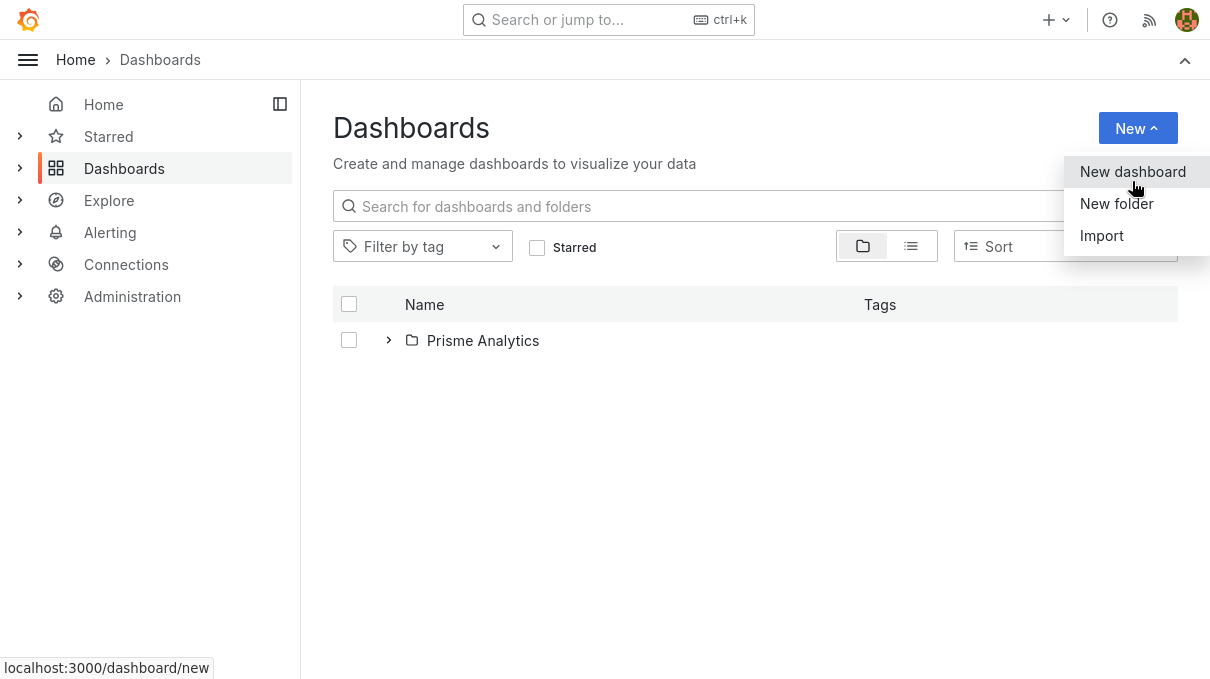
Then, click on the New dropdown button and then select the New dashboard
entry. This create an empty dashboard:
Step 2: Add panels / visualization
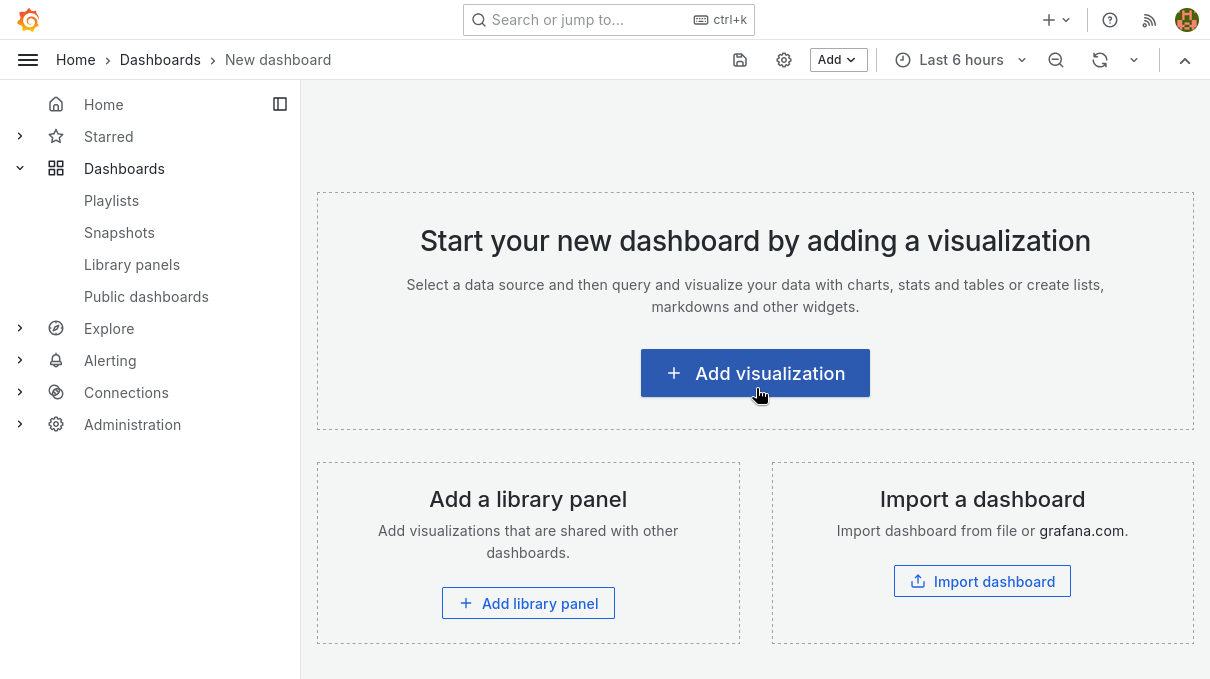
Dashboards are useless if they're empty, we must add some content to it. Click
+ Add visualization button to navigate to edit panel page.
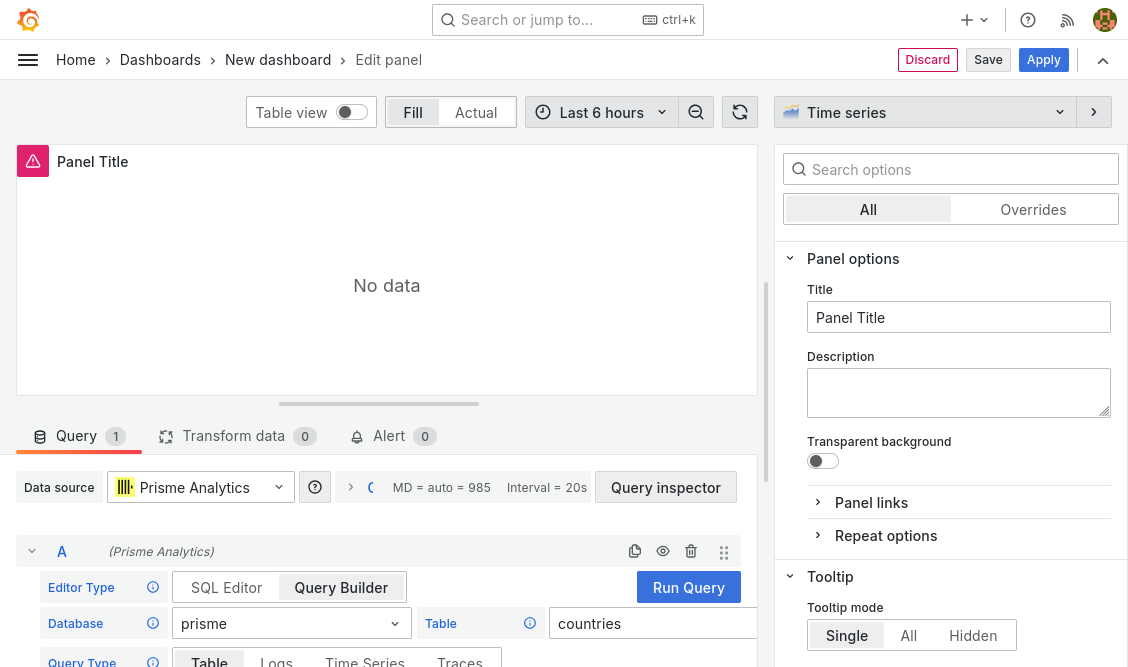
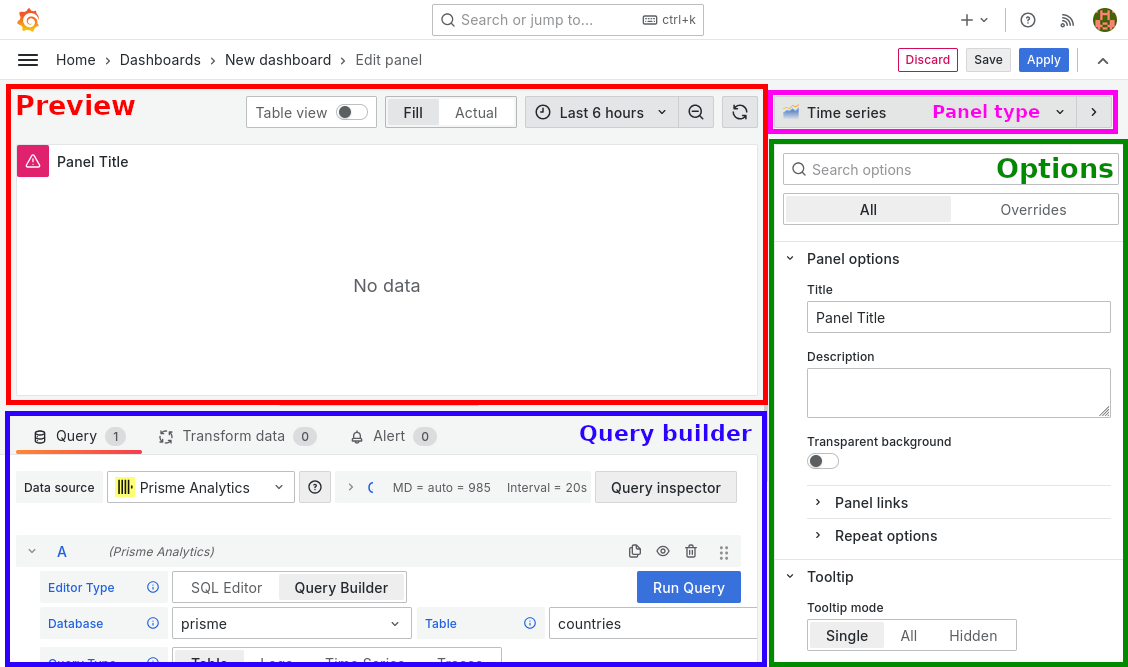
This is page is made of 4 parts:
- Preview: view of panel in real time as you edit options
- Query builder: Graphical builder for easily querying data from the ClickHouse database
- Panel type: Dropdown menu with dozens of panels type
- Panel options: Standard and specific panel options
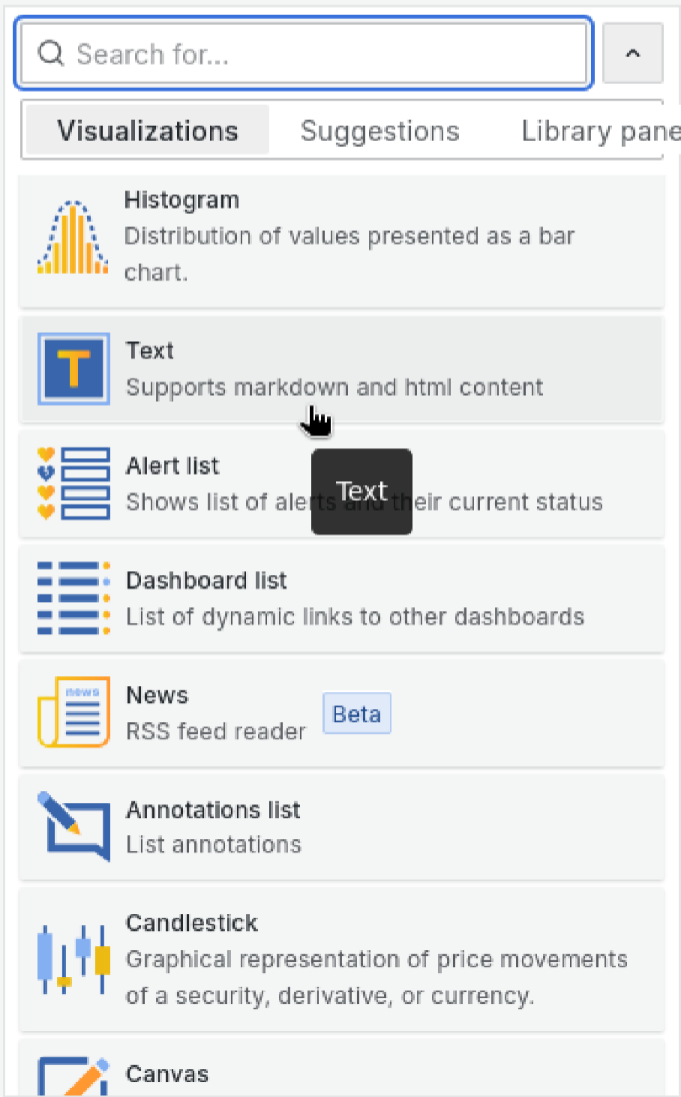
For this guide, we add a simple text panel that don't query any analytics data for sake of simplicity. Checkout How to track scroll depth guide to see a more realistic example.
Set panel type to Text.
Then explore and edit options until you're satisfied of the result:
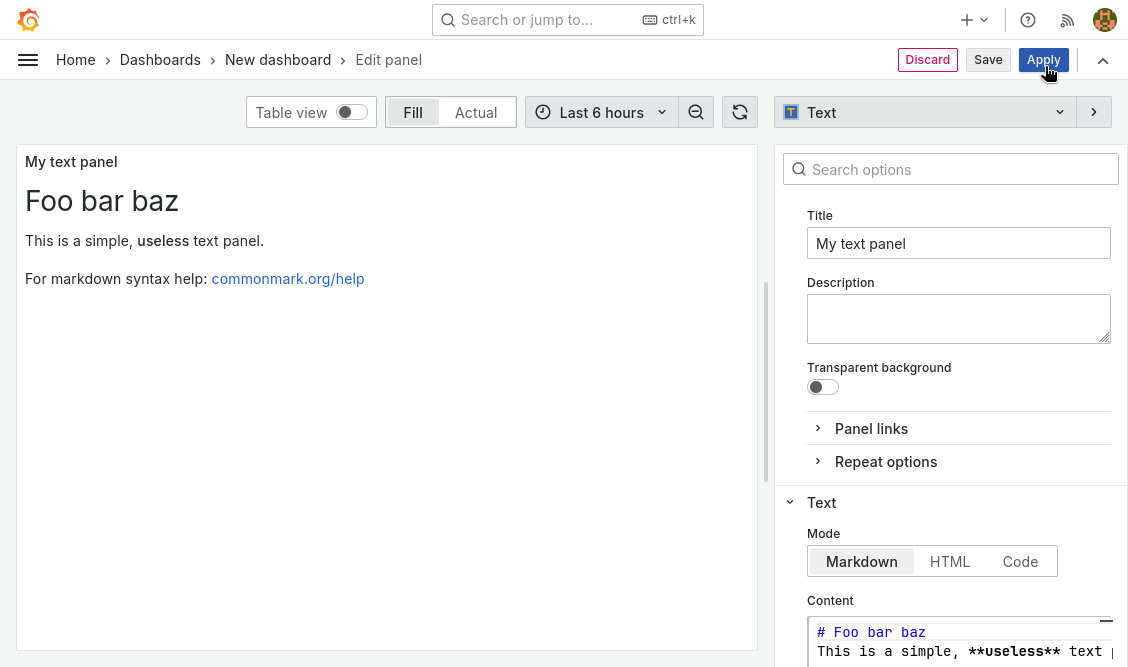
Once you're satisfied, click on the blue apply button.
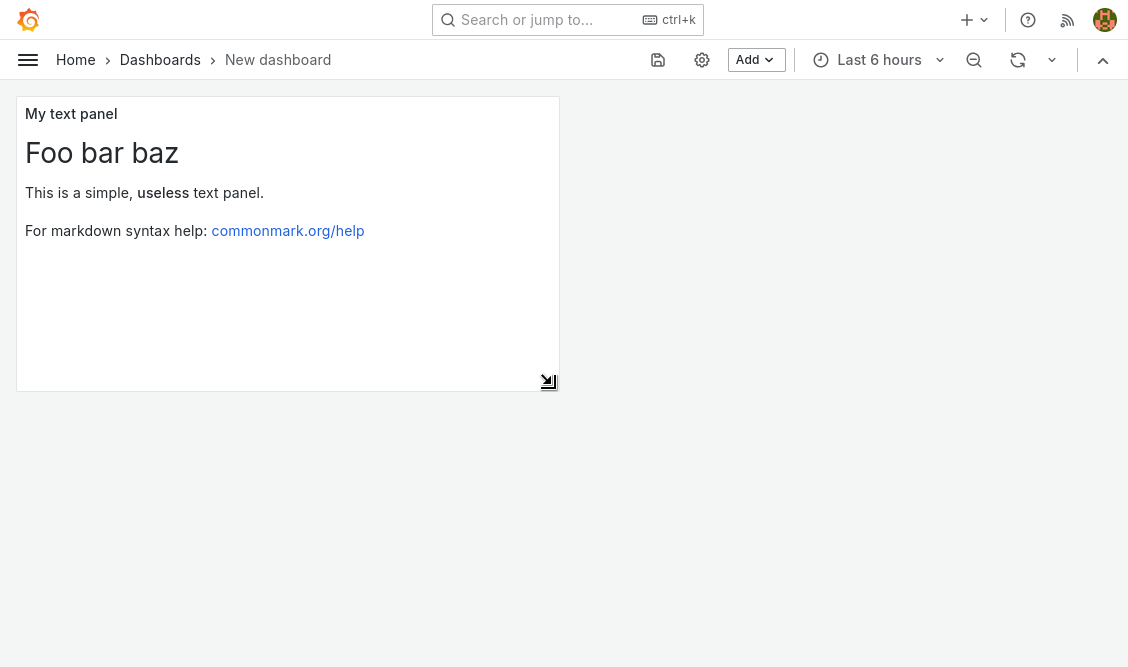
Step 3: Resize and move panel
Once your panels are ready, you can resize and move them:
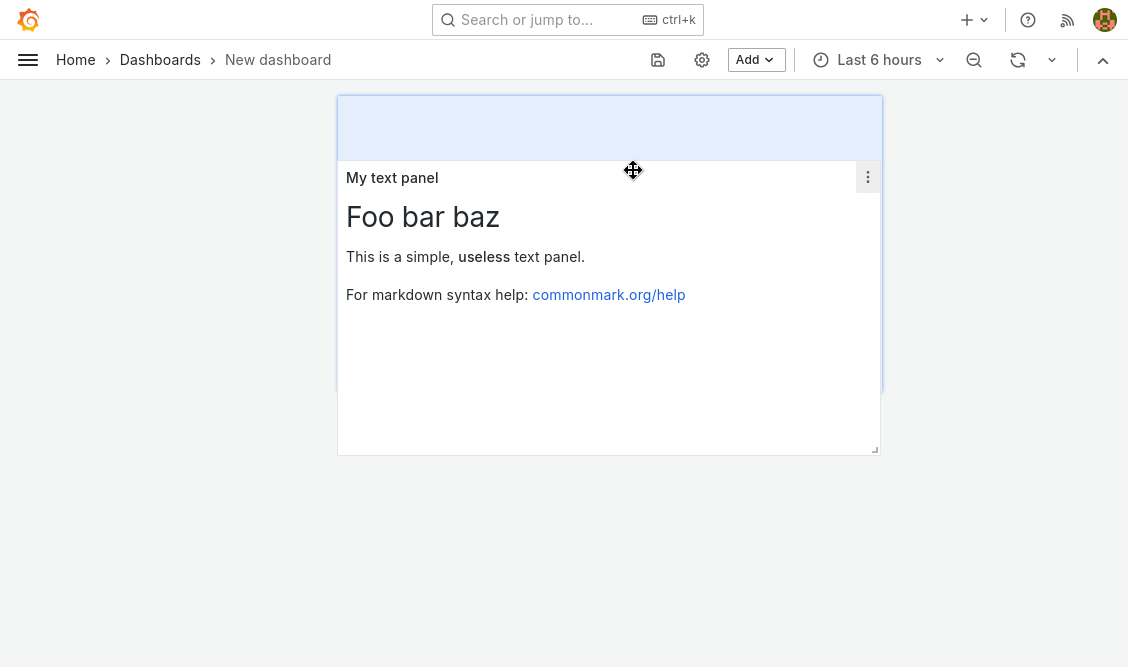
Finally, when your dashboard is ready, it is time to save it.
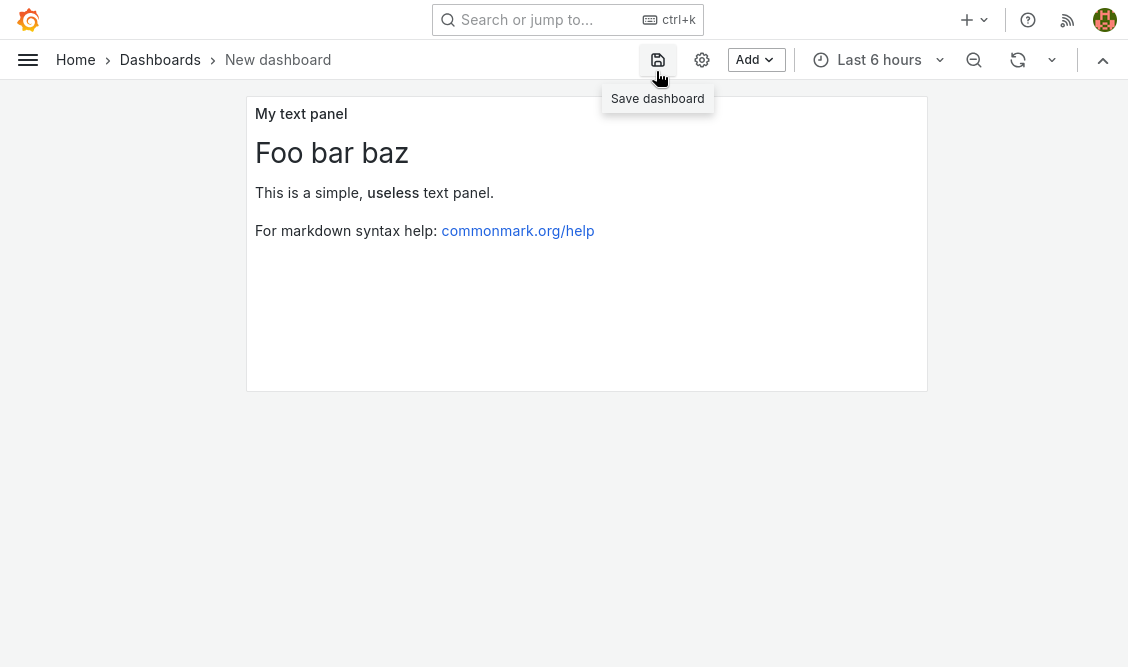
Step 4: Save dashboard
Click on the save icon in the top bar.
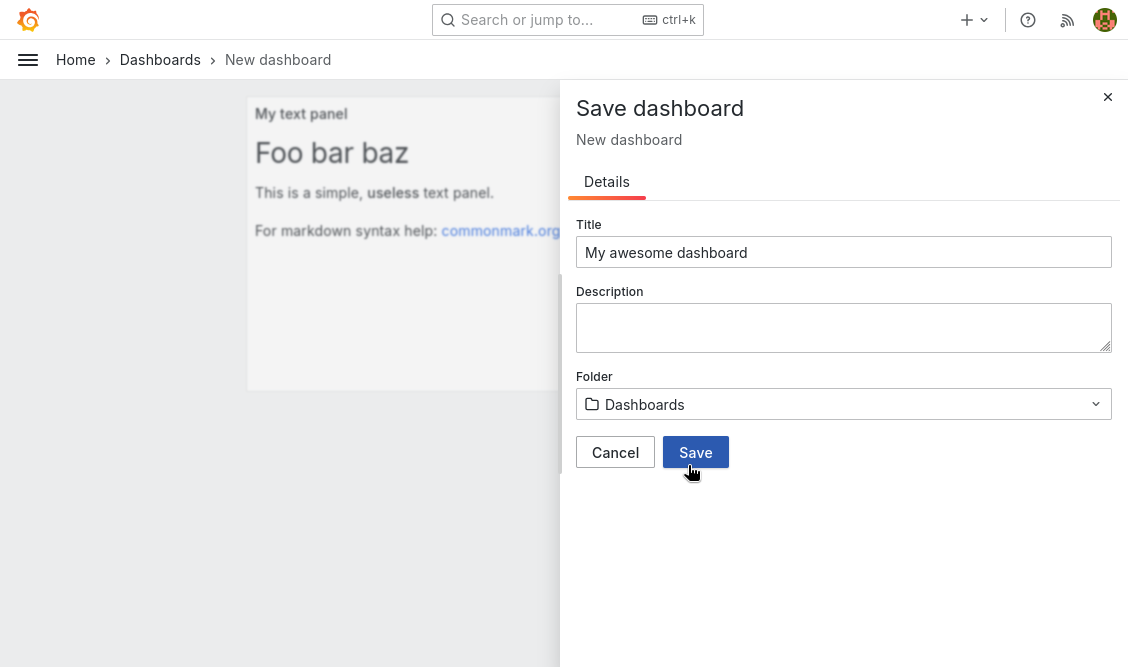
Then sets dashboard name, description, destination folder and click save.
Don't save dashboards in Prisme Analytics folder as it is reserved for
built-ins dashboards.
Finally, your dashboard is now visible on dashboards page:
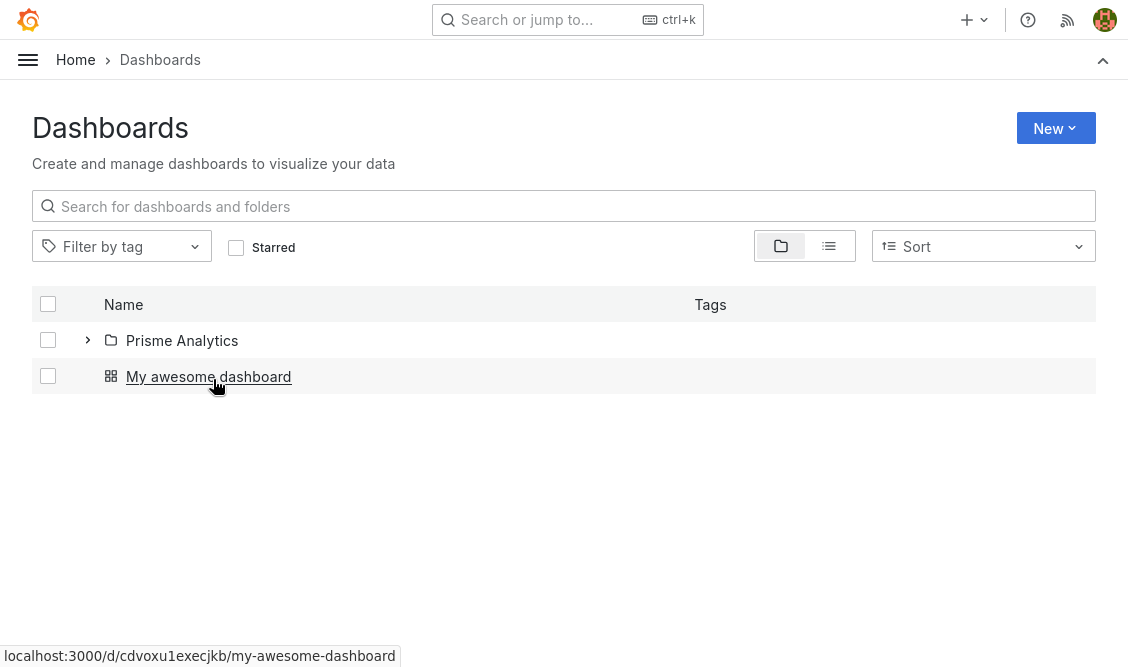
That's it, you've successfully created a custom dashboard!